 AGreenNest
Succulent Care
Propagating Succulents from Leaves: Step by Step
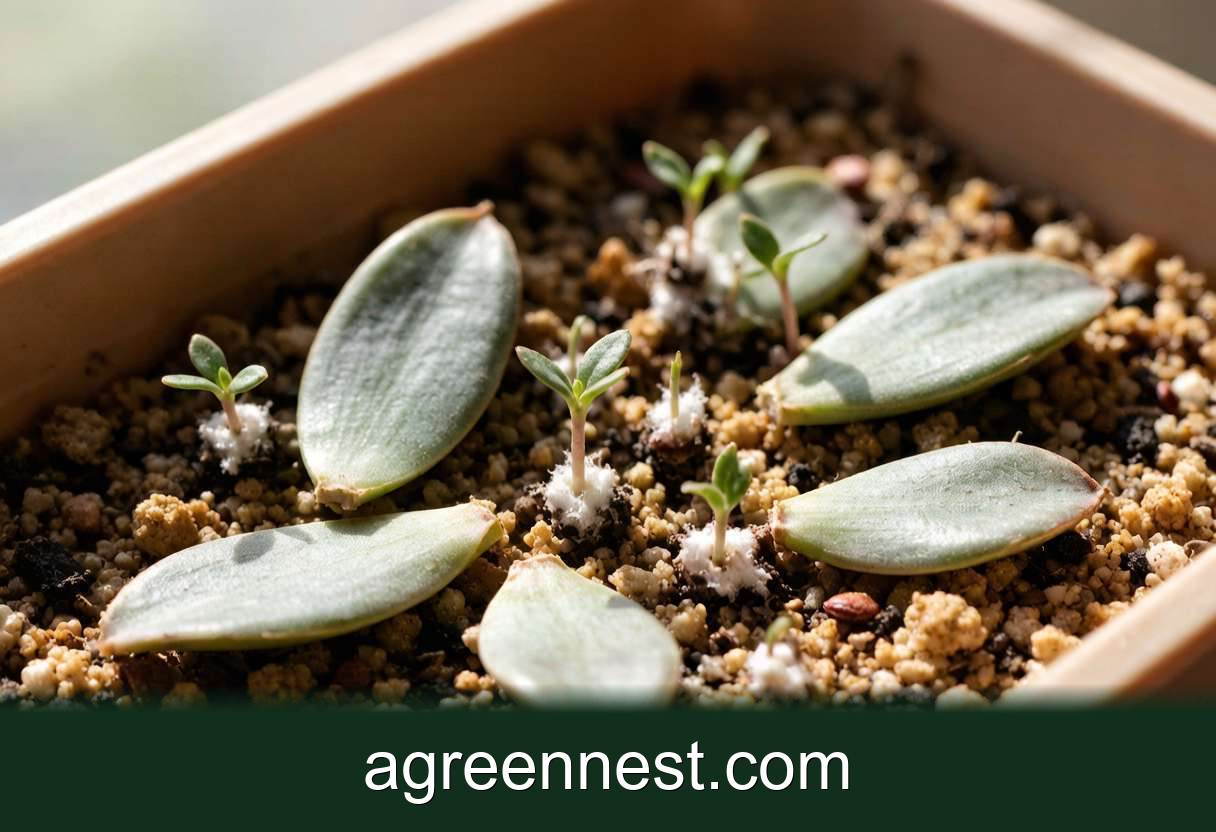
If you are new to Propagating Succulents From Leaves, keep it simple: a few hours of direct sun, and water sparsely. These plants hate wet feet, so always let the soil dry completely between drinks (4 days between waterings). A shallow terracotta pot with gritty soil is the safest setup, and a bright windowsill does the rest.
There is real magic in turning one succulent into twenty. Years ago I knocked a Graptopetalum paraguayense leaf off a shelf, left it on the windowsill, and forgot about it. Three weeks later a tiny pink rosette had appeared all on its own. Propagating succulents from leaves is cheap, satisfying, and perfect for beginners. All you need is a healthy leaf and a little patience.
Why Does Leaf Propagation Work?
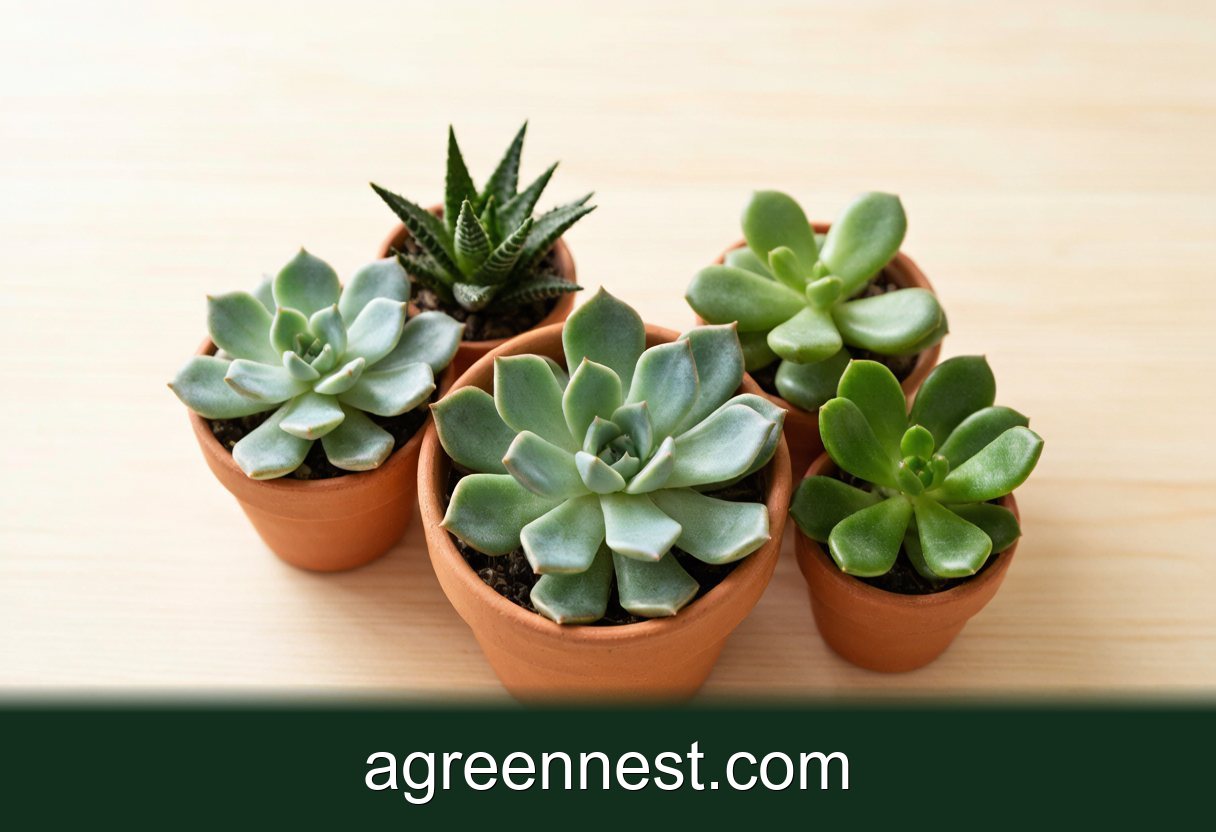
Many succulents store water and energy inside their fleshy leaves. Echeveria elegans and its close cousins, along with Sedum morganianum and Graptopetalum paraguayense, can grow a whole new plant from a single leaf. Each leaf carries enough reserves to sprout tiny roots and a baby rosette. Offshoots, or pups, from Haworthia cooperi, Aloe, and Jade multiply even faster because they already own a small root system.
The secret is simple biology. A detached leaf keeps feeding itself until it can make roots and a new crown. Give it the right dry, bright conditions and nature does the rest.
Step 1: Choose and Remove Healthy Leaves
Pick plump, unblemished leaves from the lower stem of a thriving plant. Gently twist the leaf side to side until it detaches cleanly at the base. That clean break is critical. If the leaf tears and leaves part of itself stuck to the stem, it will not root.
I always take ten leaves instead of two. With success rates around 70 to 90 percent for Echeveria and 80 to 95 percent for Sedum, a small batch guarantees you still end up with a healthy cluster of new plants.
Best Species for Leaf Propagation
- Echeveria elegans and Graptopetalum paraguayense: near 90 percent success.
- Sedum morganianum: very easy and fast.
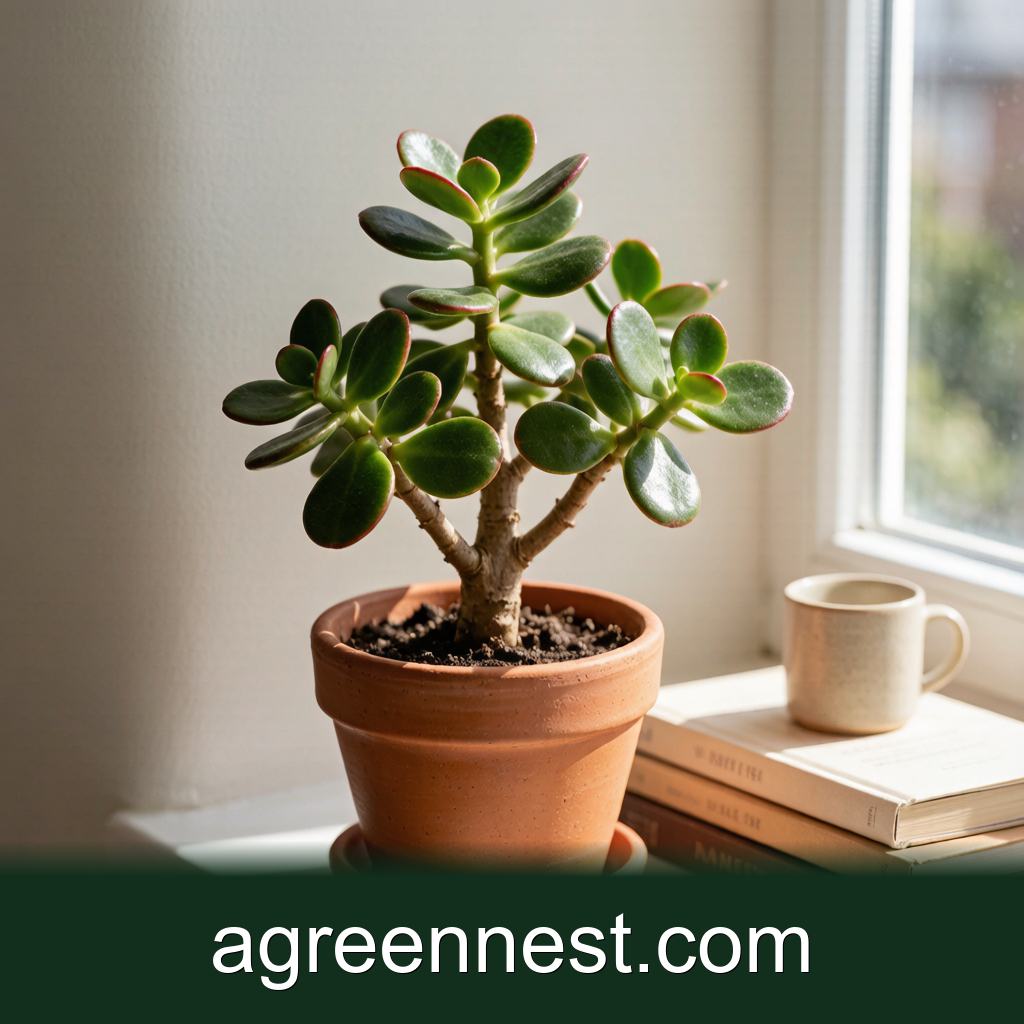
- Crassula (Jade): slower but reliable from leaves.
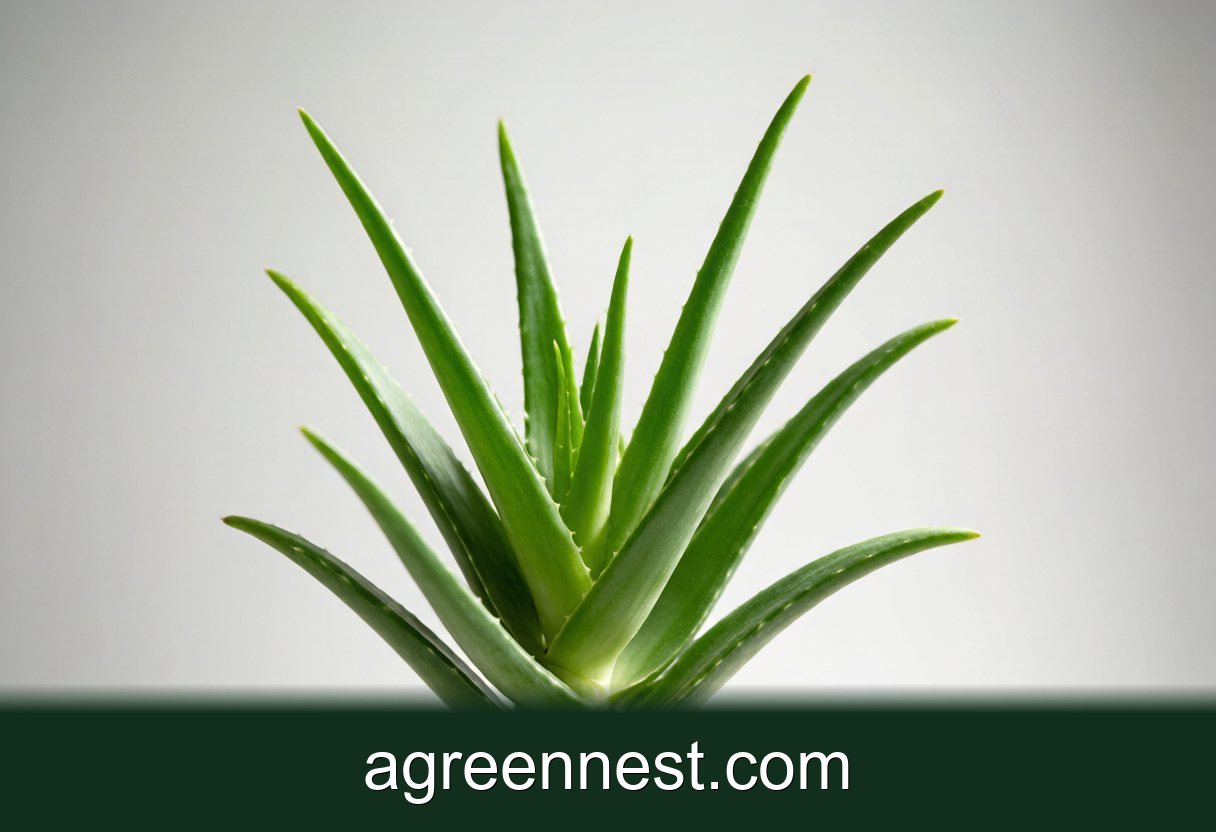
- Haworthia cooperi and Aloe: better from offshoots than leaves.
Step 2: Let the Leaf Callus
This step is the one most beginners skip, and it sinks their success rate. Lay leaves callus side up on a dry tray for 2 to 4 days in a shady spot. A callus seals the wound so it will not rot when it touches soil. Do not skip this even if you feel impatient. An uncallused leaf in damp soil turns to mush within days.
Step 3: Set Up the Soil
Use a shallow tray filled with a gritty, well draining mix. I like 50 percent cactus soil and 50 percent perlite, and that ratio works perfectly. Do not bury the leaves. Simply lay them on top, callus side down, spaced an inch apart. Offshoots are even simpler: once a pup has a few roots of its own, snap or cut it from the mother and plant it directly in dry mix.
Step 4: Light and Misting
Place the tray in bright, indirect light. Bright, indirect light is best; a north or east window is ideal and direct sun scorches tender leaves. Mist the soil lightly every 3 to 5 days. You want it barely damp, never soggy. Once tiny roots appear, usually after about 2 to 4 weeks, you can mist a little closer to the leaf base. Keep airflow good to prevent mold.
Step 5: Watch for Roots and Babies
Within 3 to 6 weeks you should see pink roots, then a miniature rosette forming at the leaf base. The original leaf will slowly shrivel as it feeds the baby, and that is normal and healthy. When the baby has several leaves and a small root system, gently move it to its own pot. Water sparingly at first.
How Warm Should the Tray Be?
Warmth helps a great deal. Keep propagation trays around 70 to 75°F (21 to 24°C). Heat from a seedling mat or a warm windowsill shortens rooting time. Avoid cold drafts, which stall growth for weeks. I once left a tray near a leaky window in January and nothing happened for two full months.
What Should You Avoid?
- Watering before callusing, because that guarantees rot.
- Burying leaves, since they need air, not soil cover.
- Direct hot sun, which scorches fragile new growth.
- Over misting, because damp soil plus poor air equals fungus.
- Pulling leaves that resist, so wait or pick another.
Troubleshooting Slow Starts
If leaves go flat and translucent, they rotted. Start over with callused leaves and less water. If nothing happens after six weeks, the leaf may have been too old. Try fresher, plumper leaves from an actively growing plant.
Propagating from Offshoots (Pups)
Many succulents multiply on their own by sending up pups. Aloe, Haworthia cooperi, Jade, and Sempervivum tectorum are famous for this. Wait until a pup is at least one third the size of the mother and has its own small roots. To separate, slide the plant from its pot and gently tease the pup away with a clean knife, keeping its roots intact. Plant it in its own gritty mix and water lightly after a day. Pups root almost instantly because they already have a head start, making them the fastest path to a full collection.
Frequently Asked Questions
Q: How long does succulent leaf propagation take?
A: Expect roots in 2 to 4 weeks and a visible baby rosette in 3 to 6 weeks, though warmth and species can speed or slow this.
Q: Do I need to let succulent leaves callus first?
A: Yes. Always let leaves dry for 2 to 4 days so the cut seals. Skipping this step causes rot and ruins your success rate.
Q: Should I water propagated leaves directly?
A: No. Lay them on dry soil and mist lightly every 3 to 5 days. Keep the mix barely damp rather than wet.
Propagation is the most rewarding part of the succulent hobby, and it costs almost nothing. Use our free light calculator to place your trays in ideal bright, indirect light, and check our succulent ebook for a full propagation timeline chart. You can open the light calculator here and find the succulent ebook here.
Recommended Tools for Succulent Care
Free, no-signup helpers matched to this guide.
Free Ebooks to Explore
Downloadable handbooks — no email required.
Free Ebook
The AGreenNest Succulent Care Handbook
The complete, beginner-to-confident guide to growing fat, happy succulents — 10 chapters and a 20-plant directory.
Free Ebook
Haworthia & Haworthiopsis Care Handbook
A focused guide to the striped, forgiving Haworthia clan.
Sources & further reading
GreenNest authors research and write every guide independently. The external links below are reputable references we recommend for deeper reading — they are not the sources we copied from.
- UF/IFAS Gardening Solutions — UF/IFAS
- Aggie Horticulture (Texas A&M) — Texas A&M AgriLife
- Cornell Garden-Based Learning — Cornell University
Share Your Plant Story
Grown something tricky, or found a trick that finally worked? Tell us in the comments, or see what other readers are sharing on our Community page. The best reader tips get folded back into our guides.
Join the Conversation
Have a tip or a question about Propagating Succulents from Leaves: Step by Step? Share it below — comments are saved on our server.